Ceramic tiles are not only strong, but they also stand up well to moisture and to the rigors of time. But, like anything else, they are not impervious to the collection of dirt, dust, and the occasional scuff. Fortunately, with regular cleaning and the occasional deep clean, your tile floors, backsplash, and bathroom tiles can look wonderful for many years to come. Let’s take a look at what you can do to keep your tiles beautiful.
Regular Cleaning and General Upkeep
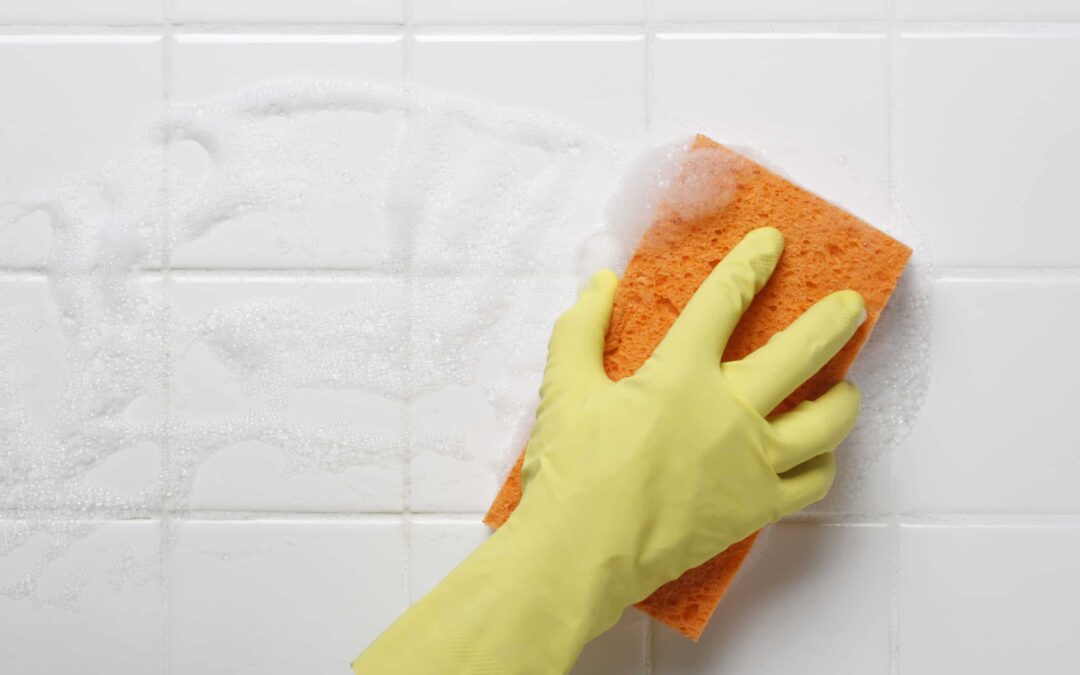
One thing to know about your tile, no matter where it is in your home, is that when it gets dirty, it tends to lose its luster. It can happen so gradually that you may not even notice it, until you’ve rolled up your sleeves and cleaned them. It should be said that ceramic tile is by no means a high maintenance material but given that it is often installed in high traffic areas like kitchens, bathrooms, and entryways, they may require more regular cleaning than other surfaces in your home.
Before you get started, take the time to clear the area of rugs and other items from the surface you are about to clean. It’s best to clean the tiled area in its entirety rather than simply cleaning around objects. Sweep or vacuum any loose debris that may have collected since the last time you cleaned. If in the entryway, make sure there is adequate lighting so you can see if anything sticky needs to be coaxed off the tile (e.g., gum, etc.). Removing these substances generally takes little effort to remove when using a plastic putty (using metal putty knives can scratch the tile). Next, fill a vessel with warm water and add half a cup of white vinegar and a half tablespoon of mild liquid dish soap. You may need to experiment with the amount of dish soap you need to clean the area, but it is best to use as little as possible. Using too much will make it difficult to remove the excess, resulting in tiles that appear dull.
Mop as you normally would but, before you allow your floor to air dry, mop the surface again using hot water and hot water only. This will remove any leftover soap residue.
Depending on the time of year and the amount of traffic seen, you may want to sweep the area 2-3 times a week (or more, as needed). Mopping should be added to your weekly chore list. One final tip when it comes to regular cleaning: avoid the temptation of using a cleaning tool with an abrasive surface. You may think doing so will reduce cleaning time, but you may end up damaging the tile.
The Deep Clean
There will come a time when your tile needs a deep clean and for that, you may need to invest in something that runs on something more than elbow grease. One of the best investments you can make is purchasing a steam mop. They’re relatively inexpensive, easy to use, and don’t require harsh chemicals to blast away grime and dirt. Steam mops also do a good job at cleaning out grout lines. Some steamers even come with reusable pads and several attachments for different applications.
Do Not Forget to Clean the Grout
Even if you have a steam mop, you may want to focus your attention specifically on the grout. Since grout lines sit lower than the tile surface, conventional cleaning apparatuses may not do the trick. Grout, given its low-lying position and light colour can get quickly discoloured over time as the dirt builds up. Fortunately, there’s an easy to prepare mixture that you can put together with some generic household items that will make your grout lines look like new.
Combine a half cup of baking soda with a quarter cup of hydrogen peroxide, and a teaspoon of mild liquid dish soap. The resulting mixture will form a paste, which you can use to apply directly to the grout. After letting the paste sit for ten minutes, use an old toothbrush to scrub the lines. Once all your grout lines are sparkling clean, use a clean cloth and water to remove the excess paste.
Clean the Tiles After Grouting
Generally, cleaning tiles is a pretty simple process that requires little to no effort. Having said that, you’ll want to pay particular attention to the tile cleaning process after applying fresh grout. Even if you’re diligent to wipe away grout while you’re grouting, you may notice a haze that develops on the tiles in the following days. To keep your tiles looking great, you need to make sure you remove that haze – just know that there’s a right time and a wrong time to do it. You see, cleaning your tiles too soon after grouting could end up damaging the tiles because the grout hasn’t had enough time to cure. If you wait too long to clean it, the haze will be too difficult to remove with the items you have at your disposal and you may therefore need to hire a professional or purchase industrial-strength cleaners. The rule of thumb is to remove the haze 2-10 days after applying the new grout. You can start by simply using a damp towel to remove the haze. If that doesn’t do the trick, a mild solution of one part white vinegar to four parts water in a spray bottle, applied generously and wiped with a microfiber cloth should work just fine to remove the haze.
Cleaning is a Chore, but Keeping Ceramic Tile Clean is Easy
It’s difficult to reconcile how a material that adds so much beauty and character to your home requires so little effort to keep it looking great. The more frequently you make regular cleaning and maintenance of your ceramic tile a priority, the less time you’ll need to spend. There’s no avoiding the inevitable deep clean, but, as we’ve seen, that process is not too arduous. If you’d like to learn more about how to keep your ceramic tile floors clean, or if you’d like to speak to someone about a project involving ceramic tile in your home,
contact your local ceramic tile distributor today.