
There’s nothing quite like a home improvement project to rejuvenate and beautify your living space. That said, there are many projects within the home that even the most ambitious DIYers shy away from – particularly those involving updates to plumbing or electrical. A shower upgrade, however, is a relatively simple task that any homeowner blessed with a little know-how can complete over a weekend. Ceramic tile is just one of the ways you can add a “wow” factor to your commode, but you don’t have to shell out big bucks to have them installed professionally. With a touch of elbow grease and an equal amount of patience, you can do it on your own.
Of course, even the best weekend warriors know when it’s wise to tip their hat to the trades. While tiling itself is manageable, the plumbing lurking behind the walls is a different beast altogether. Old pipes, questionable connections, or hidden leaks can quickly turn a satisfying upgrade into a soggy regret. That’s where experienced professionals step in, making sure water flows where it should—and nowhere else—before your beautiful tiles ever meet a drop.
By pairing your hands-on effort with trusted help like Fauth Plumbing services, you get the best of both worlds: the pride of doing part of the work yourself and the peace of mind that comes from proper plumbing done the right way. It’s a time-honored approach—respect the craft, don’t rush the fundamentals, and let skill guide the parts that truly matter. When the last tile is set and the shower runs flawlessly, you’ll know the old-school wisdom still holds up just fine.
In this article, you’ll come to learn that tiling a shower is not as intimidating as you may have thought. We’ll walk you through everything from choosing the right ceramic bathroom tiles to prepping the space, to adding the finishing touches.
Choosing the Best Wall Tiles and Grout
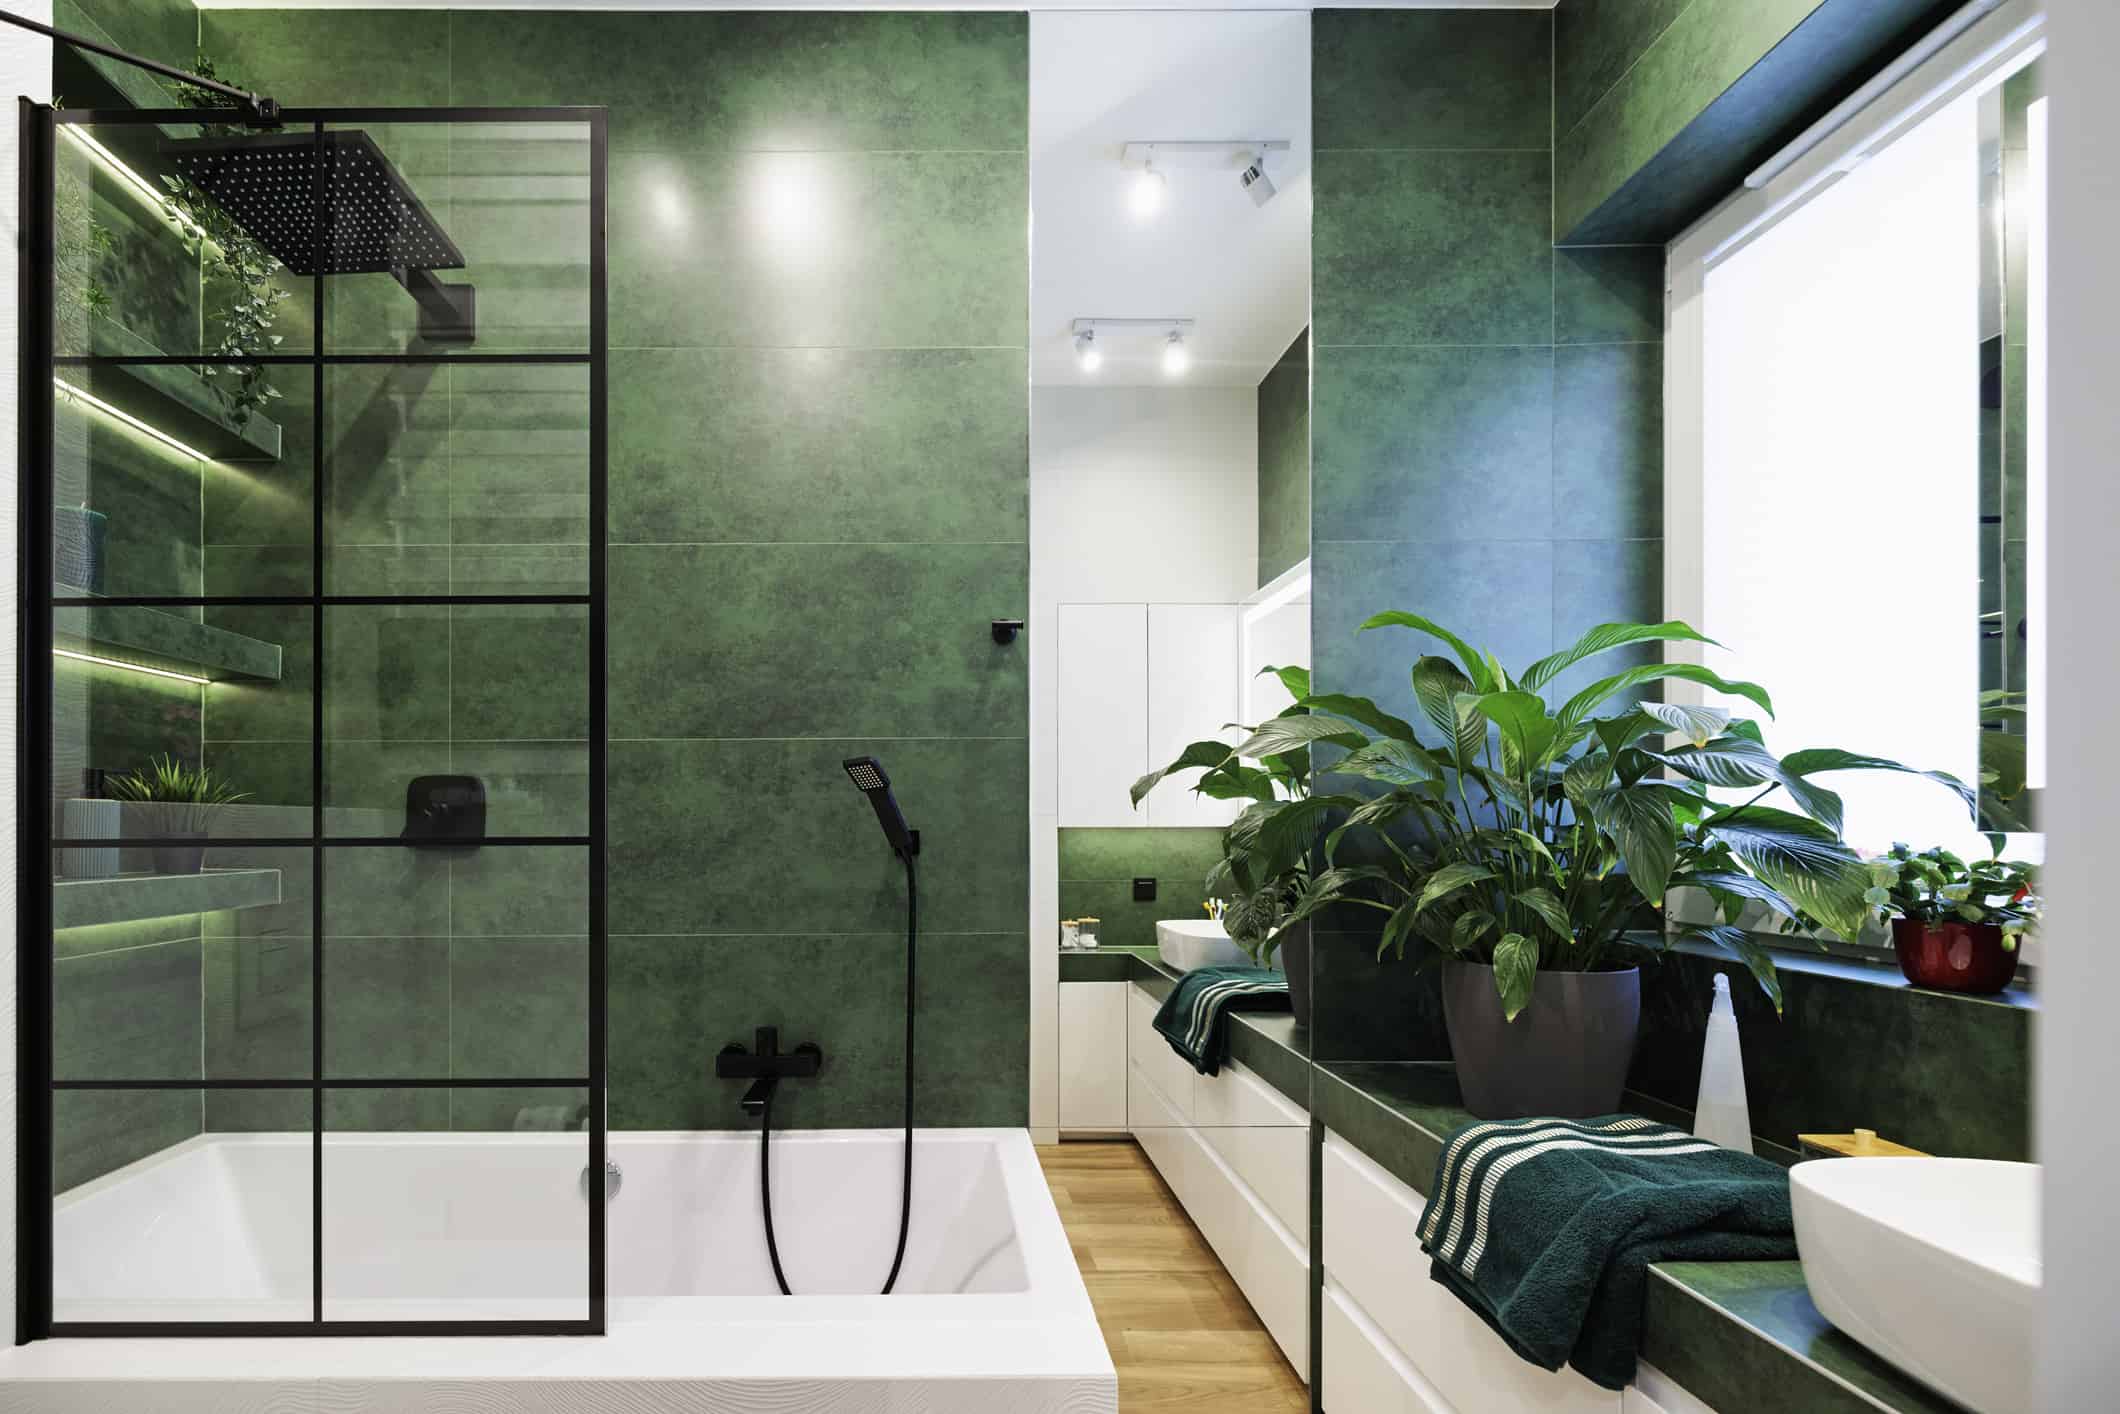
Have you ever stopped to wonder why ceramic tile is so often used in bathrooms and showers? While tile comes in a variety of colors, sizes, patterns, and designs, it’s also important to note that ceramic tile is impervious to water, which makes it an ideal material to use wherever water is present in the home.
As you begin your search for the perfect tile for your space, there are some general rules of thumb you’ll want to consider for your bathroom. For example, consider for a moment the size of a traditional bathroom; in most cases, a home’s bathroom will be on the smaller side. If that’s the case in your home, remember the following design principle: light colors give the illusion of space. While there is nothing wrong with choosing a darker ceramic tile (in fact, if your goal is to give your bathroom a dramatic look, a dark tile can help you achieve that aesthetic), sticking to something on the brighter end of the color spectrum will make your bathroom feel more spacious than it is.
The next thing you’ll need to think about is the size of the tile you want to use. Large tile is a very popular contemporary option, but if you aren’t careful about your tile selection, you might find that the end result is just a little too bland. Combining small and medium sized tile is a great way to divide the space, create points of variety and visual interest, and allow you to maximize your creativity. If you can’t choose and just want something timeless, subway tiles always look good.
One last thing – don’t overlook your grout lines. They can play almost as important a role in your bathroom project as the tile. The width of your grout lines will vary based on the tile you choose. If you’re unsure how wide of a grout line you should use when tiling your bathroom, you can always reach out to a designer or tile supplier for some guidance.
Prep the Wall
Depending on how you feel about your current shower, prepping the wall for the new tile may give you a real sense of satisfaction. Begin by removing the hardware from the shower (shower head, faucet, etc.) and begin removing the tile using a hammer and chisel/crowbar. Be sure to remove all material right down to the studs. After you’ve cleaned up the debris and remnants of old tile off your bathroom floor, inspect the newly exposed area for mold. If any underlying building material has begun to rot, now is the best time to address it.
Install Backerboard
During the demo phase, you may have noticed that the old tiles were installed over drywall. This is relatively common in older homes. In newer homes, cement backerboard is used because it stands up much better to moisture. Install cement backerboards that are cut to fit each wall of the shower, taking care that they are flush with one another. Before you begin installing the backerboard, take note of the location of the studs so the board can be properly mounted using concrete screws. For this phase of the project, it may be useful to enlist an extra pair of hands to make sure the backerboard goes up without a hitch.
Once all the boards are mounted to the studs, seal any gaps between them using a bead of caulk followed by a thin layer of mortar. For additional peace of mind, you can apply fiberglass tape in the corners and seams and a second application of mortar. Once that is done, apply a few layers of water-proof membrane tape. If needed, caulk any remaining gaps. This process may sound intense but prepping the wall carefully and diligently is important to keep the water in the shower, where it belongs.
Now, It’s Time to Tile!
With the wall prepped, the truly fun part of the project can begin! The first step will be to plan out your horizontal pattern. For this, you’ll want to start in the middle and work your way outwards. Once your horizontal pattern is complete, design your vertical layout. Laying out your tile beforehand will help you identify a potentially unseemly tile placement before the mortar goes up on the wall. Know that it is common for floors to be out of square or for a tub to be installed a little askew, so you might need to cut some tile. A general rule of thumb is to begin installing tile on the second row from the bottom so that the base of the tile is even. You don’t need a special tool to do this; a thin board screwed temporarily in the wall will work just fine.
With that in check, it’s time to mix your mortar. If you’ve never worked with mortar before, simply follow the instructions on the package. You’ll know it’s ready once it reaches a similar consistency to icing. Do not apply the mortar all at once; work one section at a time. When placing tile on the mortar, you’ll want to press firmly to ensure proper adhesion. Be sure to use spacers between each tile so that the spacing remains consistent.
Finishing Touches
Once most of the tile is up on the wall, you can focus on the bottom row that was covered by the thin board installed in the previous step. Add the remaining tile to this space knowing that you should leave an approximate quarter inch gap between the tub and the bottom edge of the lowest tile. This space will be filled with silicone caulk once everything has dried and cured (this will take about 24 hours). When you’re ready to get back to it, remove the spacers and apply your grout of choice after reading the directions. Know that not all grouts are applied the same so even if you’ve worked with grout before, it’s better to be safe than sorry by reading the instructions. As a last measure of protection, apply a silicone sealant to all remaining edges and joints.
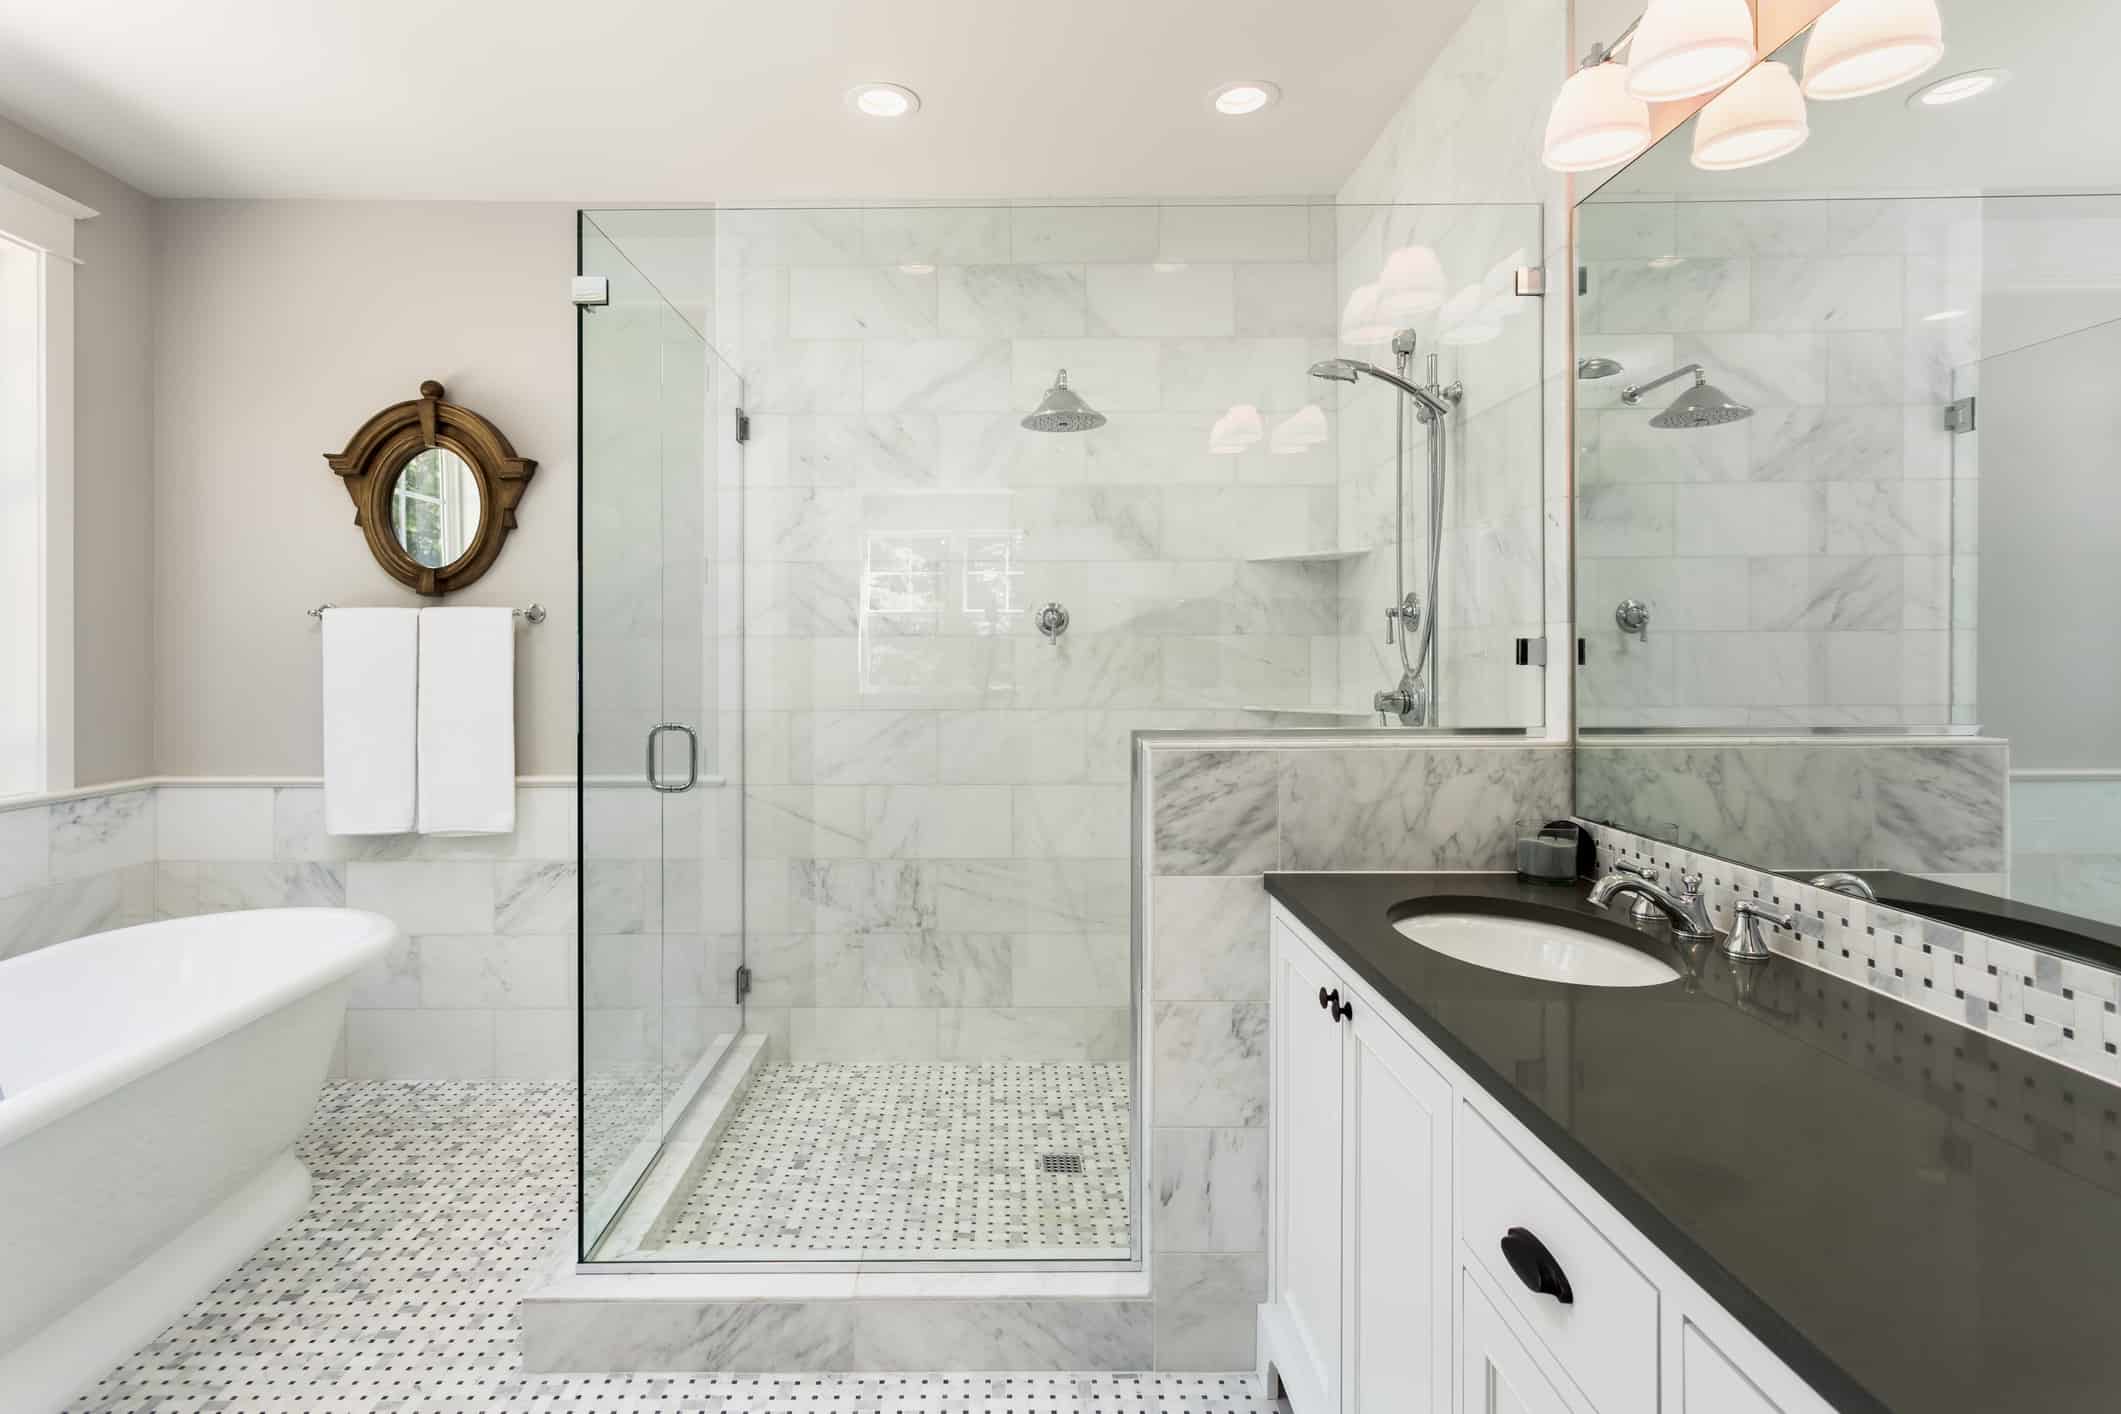
New and Improved Shower Walls!
Even if you haven’t done much work on your house before, improving your bathroom and shower can be done in relatively short order provided you have done your research and planned appropriately. To some it may seem like a fair amount of monotonous work, but the sense of satisfaction that one feels after completing such a project is worth it.
When choosing ceramic tile for your walls and other materials, make sure you speak to trusted experts who can point you in the right direction. If you’ve read through this guide and think that a DIY project will be too much for you, a professional will be happy to help. Sarana Tile has over 40 years of experience working with high-quality tiles in Ontario. If you have any questions or want to learn more about how to tile a shower wall by yourself, reach out today!