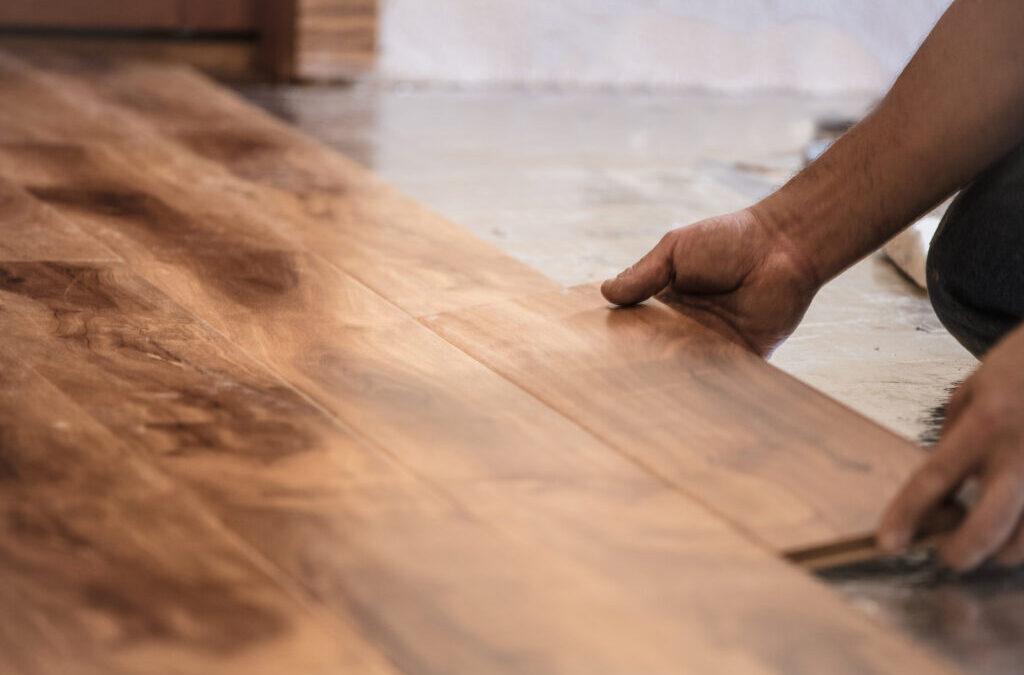
Hardwood floors remain a popular feature in the home for a variety of reasons. Outside of enhancing a home’s overall aesthetic, hardwood floors add value to the home, can last for generations when cared for and maintained properly, and are easy to clean. But in order to maximize their return on investment, it’s imperative that any new hardwood floor is installed properly. And before it can be installed, the existing floor often must be properly removed.
While there are some cases where a new hardwood floor can be installed over an existing hard floor, in most cases removal is necessary to optimize the subfloor. The subfloor is essentially the middle layer of a flooring system. It offers a flat surface to provide structural support and a uniform base for the final floor. In this post, we’ll discuss how to remove different types of old flooring so the subfloor can be properly addressed and new hardwood installed properly. Here’s what you need to know:
Tools and Supplies You’ll Need
The tools you’ll need to remove old flooring largely depend on the type of flooring that you’re removing. No matter the old flooring material, it’s a good idea to have some of the basics on hand, such as a utility knife, hammer and work gloves. It’s also a good idea to wear a dust mask, eye protection and work boots while performing any type of removal to prevent injury. Keep a garbage bag handy for scraps and use a shop vacuum to clean up dust and debris following removal as you prep the area for new hardwood installation. Depending on the amount of flooring and flooring material, you may need to bring in a dumpster for proper removal. We’ll get into more specific tools you’ll need pertaining to old flooring materials in the next section.
Removing Old Flooring: What You Need to Know
In this section, we’ll take a closer look at how to remove different types of flooring in the home:
Carpet
Carpeting is the easiest type of flooring material to remove. All you’ll really need is a utility knife, some duct tape and a pry bar. Here’s how to remove carpeting:
- Starting near a doorway or in the corner of the room, cut through the carpet with your utility knife and then pull it up from the tack strips.
- As you pull up the carpet, cut it into strips that are 3 to 4 feet wide and duct tape the rolls together. These rolls can be placed on your curb for disposal on trash pickup day.
- Repeat steps one and two with the carpet padding.
- Finish removal by using a prybar or screwdriver to remove carpet tacks and nails that held the carpet pad in place and remove any glue or adhesive used when placing the carpet tacks.
Tile
How you remove tile largely depends on the substrate it was installed on. If it was installed on concrete, for instance, you’ll likely want to use an electric chipping hammer to break up and remove the tile. In this section, we’ll discuss removing tile from a plywood or particle board subfloor, which tends to be a bit more tedious.
- Hammer a channel into the subfloor and then use a prybar to remove each tile.
- Remove the tile and backer board down to the subfloor.
- Once all the tiles are removed, use a floor scraper to remove excess glue or residue.
Hardwood
It’s possible to install a new hardwood floor over an existing one, but in some cases, the existing floor will need to be removed.
- Starting at a doorway, use a wood chisel and hammer to cut through the wood.
- Using a prybar, get under the wood floor planks to remove them.
- Remove any adhesive or nails.
Once you’ve got the old floor removed, it’s time to do any needed work on the subfloor to make way for the new hardwood flooring. After that, the new hardwood floor can be installed.
Contact Sarana Tile Today
For more information on how to remove an old floor before new hardwood floor installation and to browse our selection of high-end and engineered hardwood flooring, contact Sarana Tile today.

